
Whether you are a freelance writer, YouTuber, or run an affiliate program website, keeping your financial records accurate and organized is crucial. Integrating your sales data with QuickBooks can save time and ensure precise bookkeeping if you run a Shopify store.
In this blog, I’ll show you how to record Shopify sales in QuickBooks in five simple steps. This seamless process will help you maintain accurate financial reports, simplify tax preparation, and gain better control over your business finances.
But first things first …
What is QuickBooks?

QuickBooks is a widely recognized accounting software designed for small and medium-sized businesses.
Developed by Intuit, it offers a range of tools to manage your financial data effectively, making it easier to track income, expenses, and overall business performance.
One of the most significant advantages of QuickBooks is its user-friendly interface.
It caters to business owners who may not have extensive accounting experience, providing a straightforward way to manage complex financial operations.
Whether you’re generating invoices, tracking payments, or monitoring your cash flow, QuickBooks simplifies these processes, allowing you to focus on growing your business.
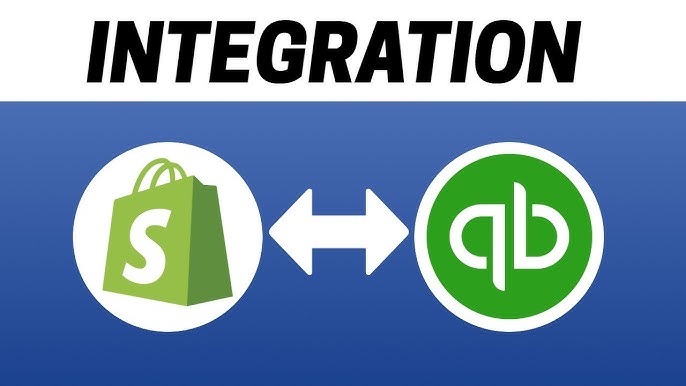
Additionally, QuickBooks offers integrations with various e-commerce platforms, including Shopify.
This integration allows you to sync your sales data directly, eliminating the need for manual entry and reducing the chances of errors.
QuickBooks supports features such as inventory tracking, tax calculations, and detailed reporting—tools essential for an e-commerce business to thrive in a competitive marketplace.
Finally, QuickBooks is available in different versions to suit your needs, such as QuickBooks Online, QuickBooks Desktop, and QuickBooks Self-Employed.
Each version is tailored to provide specific features, ensuring that businesses of all types and sizes can manage their finances efficiently.
For Shopify store owners, the compatibility of QuickBooks with various third-party applications makes it an ideal choice for streamlining sales tracking and bookkeeping.
How to Record Shopify Sales in QuickBooks Online
Integrating Shopify with QuickBooks Online is a straightforward process that ensures your sales data is accurate and up to date.
Follow these steps to record Shopify sales in QuickBooks effectively:
Step 1: Connect Shopify to QuickBooks Online
To begin, you need to establish a connection between your Shopify store and QuickBooks Online.
This can be done through third-party apps like QuickBooks Connector or other integrations available in the Shopify App Store. Here’s how to proceed:
- Log in to your QuickBooks Online account.
- Go to the “Apps” section and search for a compatible Shopify integration tool.
- Install the integration app and follow the on-screen instructions to connect it to your Shopify store.
- Authorize the app to access your Shopify and QuickBooks accounts.
Once connected, the integration will automatically sync your Shopify sales data, including orders, payments, and refunds, with QuickBooks.
Step 2: Configure Your Settings
After connecting Shopify to QuickBooks Online, configure your settings to match your accounting preferences.
Pay attention to the following areas:
- Chart of Accounts: Map your Shopify sales, fees, and refunds to the appropriate accounts in QuickBooks.
- Tax Settings: Ensure that sales tax is correctly applied to transactions based on your location and Shopify tax settings.
- Payout Settings: Match Shopify payouts to your bank account in QuickBooks to simplify reconciliation.
This step ensures that all transactions are categorized accurately, preventing errors in your financial records.
Step 3: Import Shopify Sales Data
Once your settings are configured, start importing your Shopify sales data into QuickBooks Online. Most integration apps allow you to:
- Sync historical data for a specific period.
- Automatically import new transactions as they occur.
Ensure that all sales, discounts, and refunds are accurately recorded to maintain up-to-date financial statements.
Step 4: Reconcile Transactions
Reconciling transactions is a crucial step in ensuring that your QuickBooks records match your bank statements. To do this:
- Go to the “Banking” section in QuickBooks Online.
- Match Shopify payouts with corresponding transactions in your bank account.
- Review discrepancies and make necessary adjustments.
Regular reconciliation helps identify errors and ensures the accuracy of your financial reports.
Step 5: Generate Financial Reports
Finally, use QuickBooks Online to generate financial reports for your Shopify sales.
Reports like Profit & Loss Statements, Balance Sheets, and Sales Reports provide valuable insights into your business performance.
Customize these reports to analyze:
- Revenue trends
- Expenses and fees
- Overall profitability
With these reports, you can make informed decisions to optimize your Shopify store’s financial health.
How to Manually Add Sales to QuickBooks Online
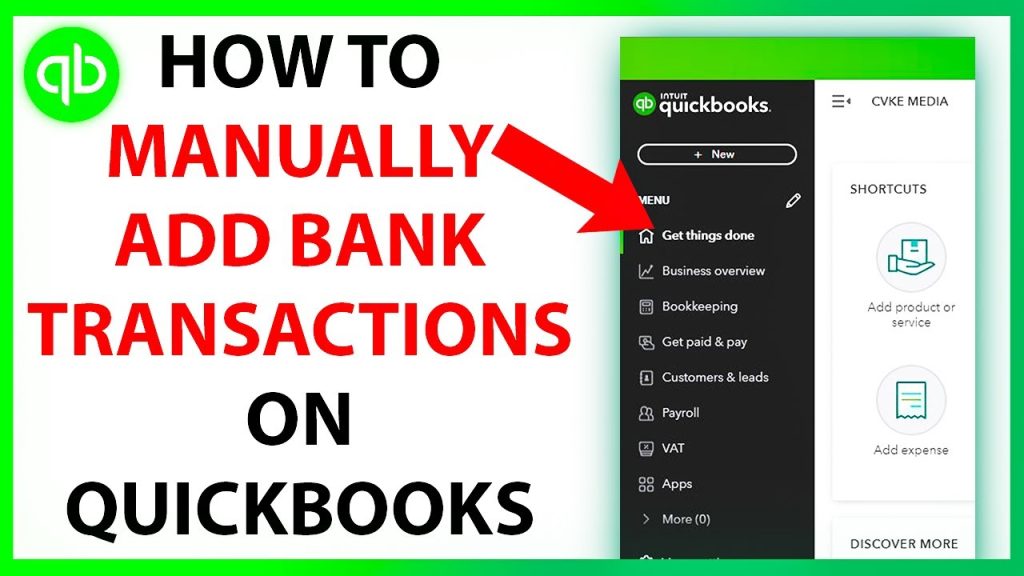
If you prefer not to use integrations or need to record Shopify sales manually for any reason, QuickBooks Online makes it easy to do so.
Follow this step-by-step guide to ensure your sales are accurately entered into the system:
Step 1: Log in to QuickBooks Online
Start by logging into your QuickBooks Online account.
Navigate to the “Sales” or “Invoices” tab from the dashboard, depending on how you wish to record the transaction.
This is the section where you’ll input all sales data manually.
Step 2: Create a New Invoice or Sales Receipt
- Select the “New” button on the toolbar.
- Choose between “Invoice” (if payment is expected later) or “Sales Receipt” (if payment has already been received).
- Enter the customer’s details, including their name, email, and address. If this is a new customer, add them to your customer list.
Step 3: Add Product or Service Details
- Input the products or services sold by selecting items from your inventory list.
- If the product isn’t listed, create a new item by clicking “Add new,” specifying the product name, price, and tax details.
- Include quantity, rate, and any applicable discounts.
Ensure all information is accurate to maintain reliable records.
Step 4: Record Payment Information
If you’re creating a sales receipt, enter the payment details directly. For invoices, specify the payment terms (e.g., Net 15, Net 30) and save the invoice for future reference.
- Specify the payment method (e.g., credit card, PayPal, or bank transfer).
- Add any notes or memos related to the sale, such as order numbers or customer requests.
Step 5: Save and Review
Once all details are entered, save the transaction. Review the sales record to ensure accuracy.
You can also generate a receipt or invoice to send to your customer directly through QuickBooks Online.
By following these steps, you can manually record Shopify sales in QuickBooks, ensuring that your financial data remains accurate even without automated integrations.
How to Categorize Shopify Fees in QuickBooks
Shopify fees include charges for transactions, subscriptions, and additional services.
Accurately categorizing these fees in QuickBooks ensures that your financial records are precise and helps you track expenses efficiently.
Follow this step-by-step guide to categorize Shopify fees in QuickBooks:
Step 1: Identify Shopify Fee Types
Begin by identifying the types of fees Shopify charges. These typically include:
Transaction Fees: Charged per sale if you’re not using Shopify Payments.
Subscription Fees: Monthly or annual charges for using the Shopify platform.
Additional Fees: Costs for apps, themes, or third-party services.
Knowing the types of fees ensures you categorize them accurately.
Step 2: Create Expense Accounts
In QuickBooks, create dedicated expense accounts for each type of Shopify fee.
Here’s how:
- Navigate to the “Chart of Accounts” in QuickBooks.
- Click “New” to create a new account.
- Select “Expense” as the account type.
- Name the accounts appropriately, such as “Shopify Transaction Fees” or “Shopify Subscription Fees.”
- Save the new accounts.
Having separate accounts provides a clear breakdown of your expenses.
Step 3: Record Shopify Fees
When Shopify fees appear on your bank statement or in payouts, record them in QuickBooks as follows:
- Go to the “Expenses” section in QuickBooks.
- Select “New Transaction” and click “Expense.”
- Enter the details, including the amount, date, and description of the fee.
- Assign the fee to the appropriate expense account.
- Save the transaction.
This process ensures that all Shopify fees are accurately reflected in your financial records.
Step 4: Reconcile Fees
Reconcile Shopify fees with your bank account or payment processor to ensure accuracy. To do this:
- Access the “Banking” section in QuickBooks.
- Match the recorded fees with corresponding transactions.
- Resolve any discrepancies to maintain accurate records.
Regular reconciliation helps identify errors and keeps your accounts up to date.
Step 5: Review Financial Reports
Finally, review your financial reports to track Shopify fees and their impact on your business. Reports like Profit & Loss Statements can provide insights into how these fees affect your profitability.
By categorizing Shopify fees correctly, you can better understand your expenses and make informed financial decisions.
How Reconcilely Makes Recording Shopify Sales in QuickBooks Easier

Managing financial records for a Shopify store can be overwhelming, especially when ensuring accurate reconciliation in QuickBooks.
Reconcilely, a leading app designed for e-commerce bookkeeping, streamlines this process with its powerful automation and user-friendly features.
Here’s how it makes your life easier:
Automatic Data Sync
Reconcilely eliminates the need for manual entry by automatically syncing your Shopify sales, fees, and refunds directly to QuickBooks.
With a seamless integration process, the app ensures that every transaction is accurately recorded, reducing the chances of errors and saving valuable time.
Key Features:
- Real-time syncing of orders, payments, and fees.
- Automatic mapping of Shopify payouts to QuickBooks accounts.
- Detailed transaction breakdowns for easier reconciliation.
Simplified Reconciliation Process
One of the most challenging aspects of e-commerce bookkeeping is reconciling payouts with bank transactions.
Reconcilely simplifies this process by matching Shopify payouts to their corresponding records in QuickBooks automatically.
This ensures that your books are always balanced and error-free.
How It Works:
- Automatically matches deposits to Shopify payouts.
- Identifies discrepancies for manual review and correction.
- Tracks fees and adjustments for transparent reporting.
Customizable Settings
Reconcilely allows you to customize how your Shopify data is recorded in QuickBooks. From mapping accounts to setting up tax configurations, you have full control over how your financial data is organized.
Customization Options:
- Assign Shopify sales, discounts, and refunds to specific QuickBooks accounts.
- Configure tax settings based on your location and Shopify tax rules.
- Define payout structures for streamlined reconciliation.
Detailed Reporting and Insights
With Reconcilely, you gain access to detailed financial reports that offer valuable insights into your Shopify store’s performance.
These reports can be directly exported into QuickBooks, providing a comprehensive view of your revenue, expenses, and profitability.
Benefits:
- Generate sales summaries and tax reports effortlessly.
- Analyze revenue trends and performance metrics.
- Stay prepared for tax season with organized records.
Advantages of Using Reconcilely for Shopify and QuickBooks Integration
Managing your Shopify store’s finances can be a daunting task, especially when it comes to ensuring accurate and seamless integration with QuickBooks.
Reconcilely is a powerful tool that simplifies this process, offering a host of advantages that can save time, reduce errors, and provide deeper financial insights.
Here’s why using Reconcilely is a smart choice for e-commerce business owners:
Automation Saves Time and Reduces Errors
One of the most significant benefits of Reconcilely is its ability to automate the syncing of data between Shopify and QuickBooks. Instead of manually entering each transaction,
Reconcilely automatically imports sales, fees, refunds, and payouts directly into your QuickBooks account.
This level of automation not only saves countless hours but also reduces the risk of human error, ensuring that your financial records are accurate and up-to-date.
If you process dozens or even hundreds of transactions daily, this automation can be a game-changer. t helps you free up valuable time to focus on core business operations rather than tedious bookkeeping tasks.
Seamless Reconciliation for Accurate Financial Records
Reconciliation—the process of matching Shopify payouts to your bank transactions—can be time-consuming and prone to discrepancies when done manually.
Reconcilely streamlines this process by automatically matching Shopify payouts with their corresponding records in QuickBooks.
Any discrepancies, such as differences in fees or adjustments, are flagged for review, ensuring your records remain error-free.
This seamless reconciliation process not only ensures that your QuickBooks account is always in sync but also helps maintain financial transparency and compliance, particularly during tax season or audits.
Customization to Fit Your Business Needs
Every business is unique, and Reconcilely recognizes that by offering robust customization options.
You can tailor how Shopify sales, fees, and refunds are categorized in QuickBooks to fit your specific accounting preferences.
From mapping accounts to configuring tax settings, Reconcilely provides the flexibility needed to ensure your financial data aligns with your business goals.
This level of customization is particularly beneficial for businesses operating in multiple regions or those with unique tax requirements.
By enabling precise categorization, Reconcilely helps you stay compliant with local regulations while keeping your financial records organized.
Detailed Insights for Better Decision-Making
Beyond simplifying bookkeeping, Reconcilely provides valuable financial insights by generating detailed reports.
These reports offer a clear picture of your revenue, expenses, and overall profitability, helping you make informed decisions about your business.
Whether you’re analyzing sales trends, identifying cost-saving opportunities, or preparing for tax season, the insights provided by Reconcilely can guide you toward better financial management.
Moreover, these reports can be customized and exported directly into QuickBooks, ensuring that your data remains consistent across platforms while providing the analytical tools you need to drive your business forward.
Enhanced Efficiency and Scalability
For businesses experiencing growth, the efficiency offered by Reconcilely becomes even more critical.
By automating and streamlining financial processes, Reconcilely allows you to scale your operations without being bogged down by manual bookkeeping.
Whether you’re expanding your product line, increasing sales volume, or entering new markets, Reconcilely ensures your financial processes can keep up with your growth.
This scalability is essential for e-commerce businesses that want to focus on expansion without worrying about the complexities of managing their financial records.
How do I Record Shopify Sales in QuickBooks Online?
To record Shopify sales in QuickBooks Online, you can use an integration tool like QuickBooks Connector or Reconcilely.
These tools sync your Shopify sales data, including transactions, fees, and payouts, directly into QuickBooks.
Alternatively, you can manually enter sales by creating invoices or sales receipts in QuickBooks and categorizing the sales under the appropriate accounts.
How Do I Record a Sales Transaction in QuickBooks?
To record a sales transaction in QuickBooks:
- Go to the + New button and select Sales Receipt or Invoice.
- Enter the customer’s name and sales details such as product, quantity, price, and applicable taxes.
- Select the payment method if it’s a sales receipt or choose terms for invoices.
- Save the transaction to log it into your books.
Does Shopify have an accounting system?
Shopify does not have a built-in accounting system but provides financial reports that include sales, taxes, and payouts.
For comprehensive bookkeeping, Shopify integrates seamlessly with accounting software like QuickBooks and Xero, allowing you to track sales, expenses, and profits accurately.
Who Pays Transaction Fees on Shopify?
Transaction fees on Shopify are paid by the store owner. These fees vary depending on the Shopify plan and whether you use Shopify Payments or a third-party payment gateway.
Using Shopify Payments eliminates additional transaction fees charged by Shopify, but credit card processing fees still apply.
How do I Reconcile Shopify in QuickBooks?
To reconcile Shopify in QuickBooks:
- Import your Shopify payouts into QuickBooks via an integration tool or manually enter the transactions.
- Navigate to the Banking section and locate Shopify payouts in your QuickBooks bank feed.
- Match the payouts to their corresponding sales transactions, fees, and refunds.
- Resolve any discrepancies flagged during the process to ensure accuracy.
- Mark transactions as reconciled once everything matches your bank statement.
Conclusion
Managing your Shopify store’s financial records is essential for maintaining a healthy and sustainable business.
By integrating Shopify with QuickBooks, you can automate much of the bookkeeping process, saving time and reducing errors.
Whether you use integration tools like Reconcilely or prefer to manually track your transactions, knowing how to record Shopify sales in QuickBooks ensures that your accounts are always up to date and accurate.
With the steps outlined in this guide, from setting up integration to categorizing fees and reconciling transactions, you now have a clear path to maintaining organized and efficient financial records.
Leveraging tools like QuickBooks not only simplifies the accounting process but also provides insights into your business performance through detailed reporting.
By investing time in understanding and utilizing these systems, you can focus more on growing your Shopify store and less on the complexities of bookkeeping.
Keeping accurate financial records will ultimately empower you to make smarter decisions and drive your e-commerce business toward long-term success.


Leave a comment